
#NTVWoodworking 101: Build a Custom Frame In 10 Easy(ish) Steps

A little over four years ago, I wanted to build my soon-to-be wife a coffee table as a wedding gift. I turned to my amazing mother-in-law for guidance, as she is a talented woodworker, among many other amazing skills that I greatly admire. Little did I know that woodworking would soon turn into one of my favorite hobbies. While I am still, by no stretch of the imagination, an expert carpenter, each hour tinkering away in the garage offers new lessons learned and invaluable moments of serenity. I still rely on my mentor (read: Mother-in-Law) for advice regularly, but there is a sense of accomplishment every time I complete a project that translates into more confidence in every other aspect of my life.
The process of building something is an inherently unique form of active meditation that teaches patience, commitment, and perseverance. If you have even an inkling of curiosity regarding woodworking, I strongly recommend giving it a try. There are tons of YouTube videos to learn the basics and most of us have a friend that can provide a “101 education” in carpentry to get you started as well.
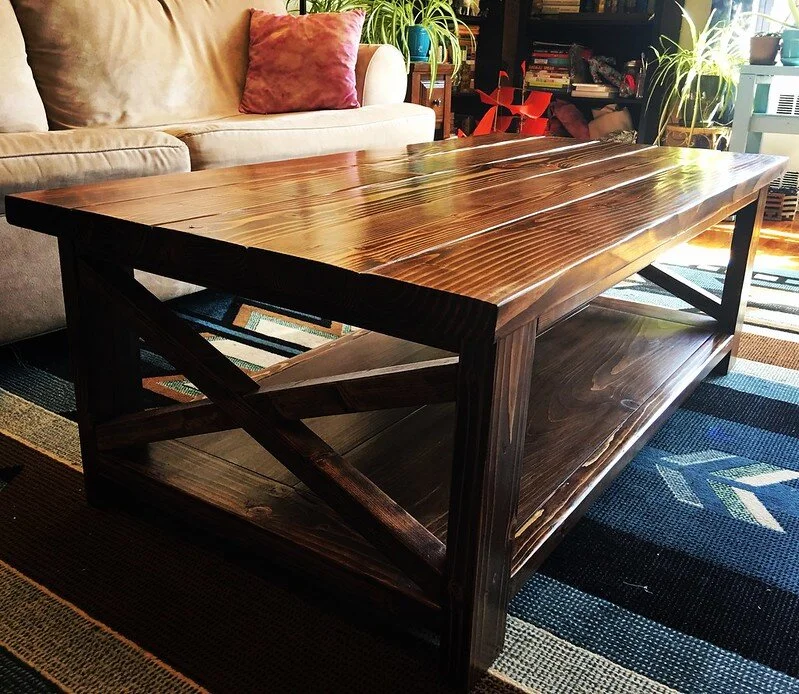
Coffee Table I built for my wife in 2016
Over the past few years, I’ve been able to incorporate my woodworking hobby into what is now NTVLI by building custom frames for my prints, which I sell through my website. Frames are a relatively easy project for beginners, so I wanted to share the process in case any would-be-woodworkers happened across this post. There are a myriad of options for how to build a frame, depending on what your desired aesthetic is, and I am happily starting to experiment with different methods at the moment. For the purpose of this blog, I am going to outline the tried-and-true method that I’ve been tweaking for the past few years.
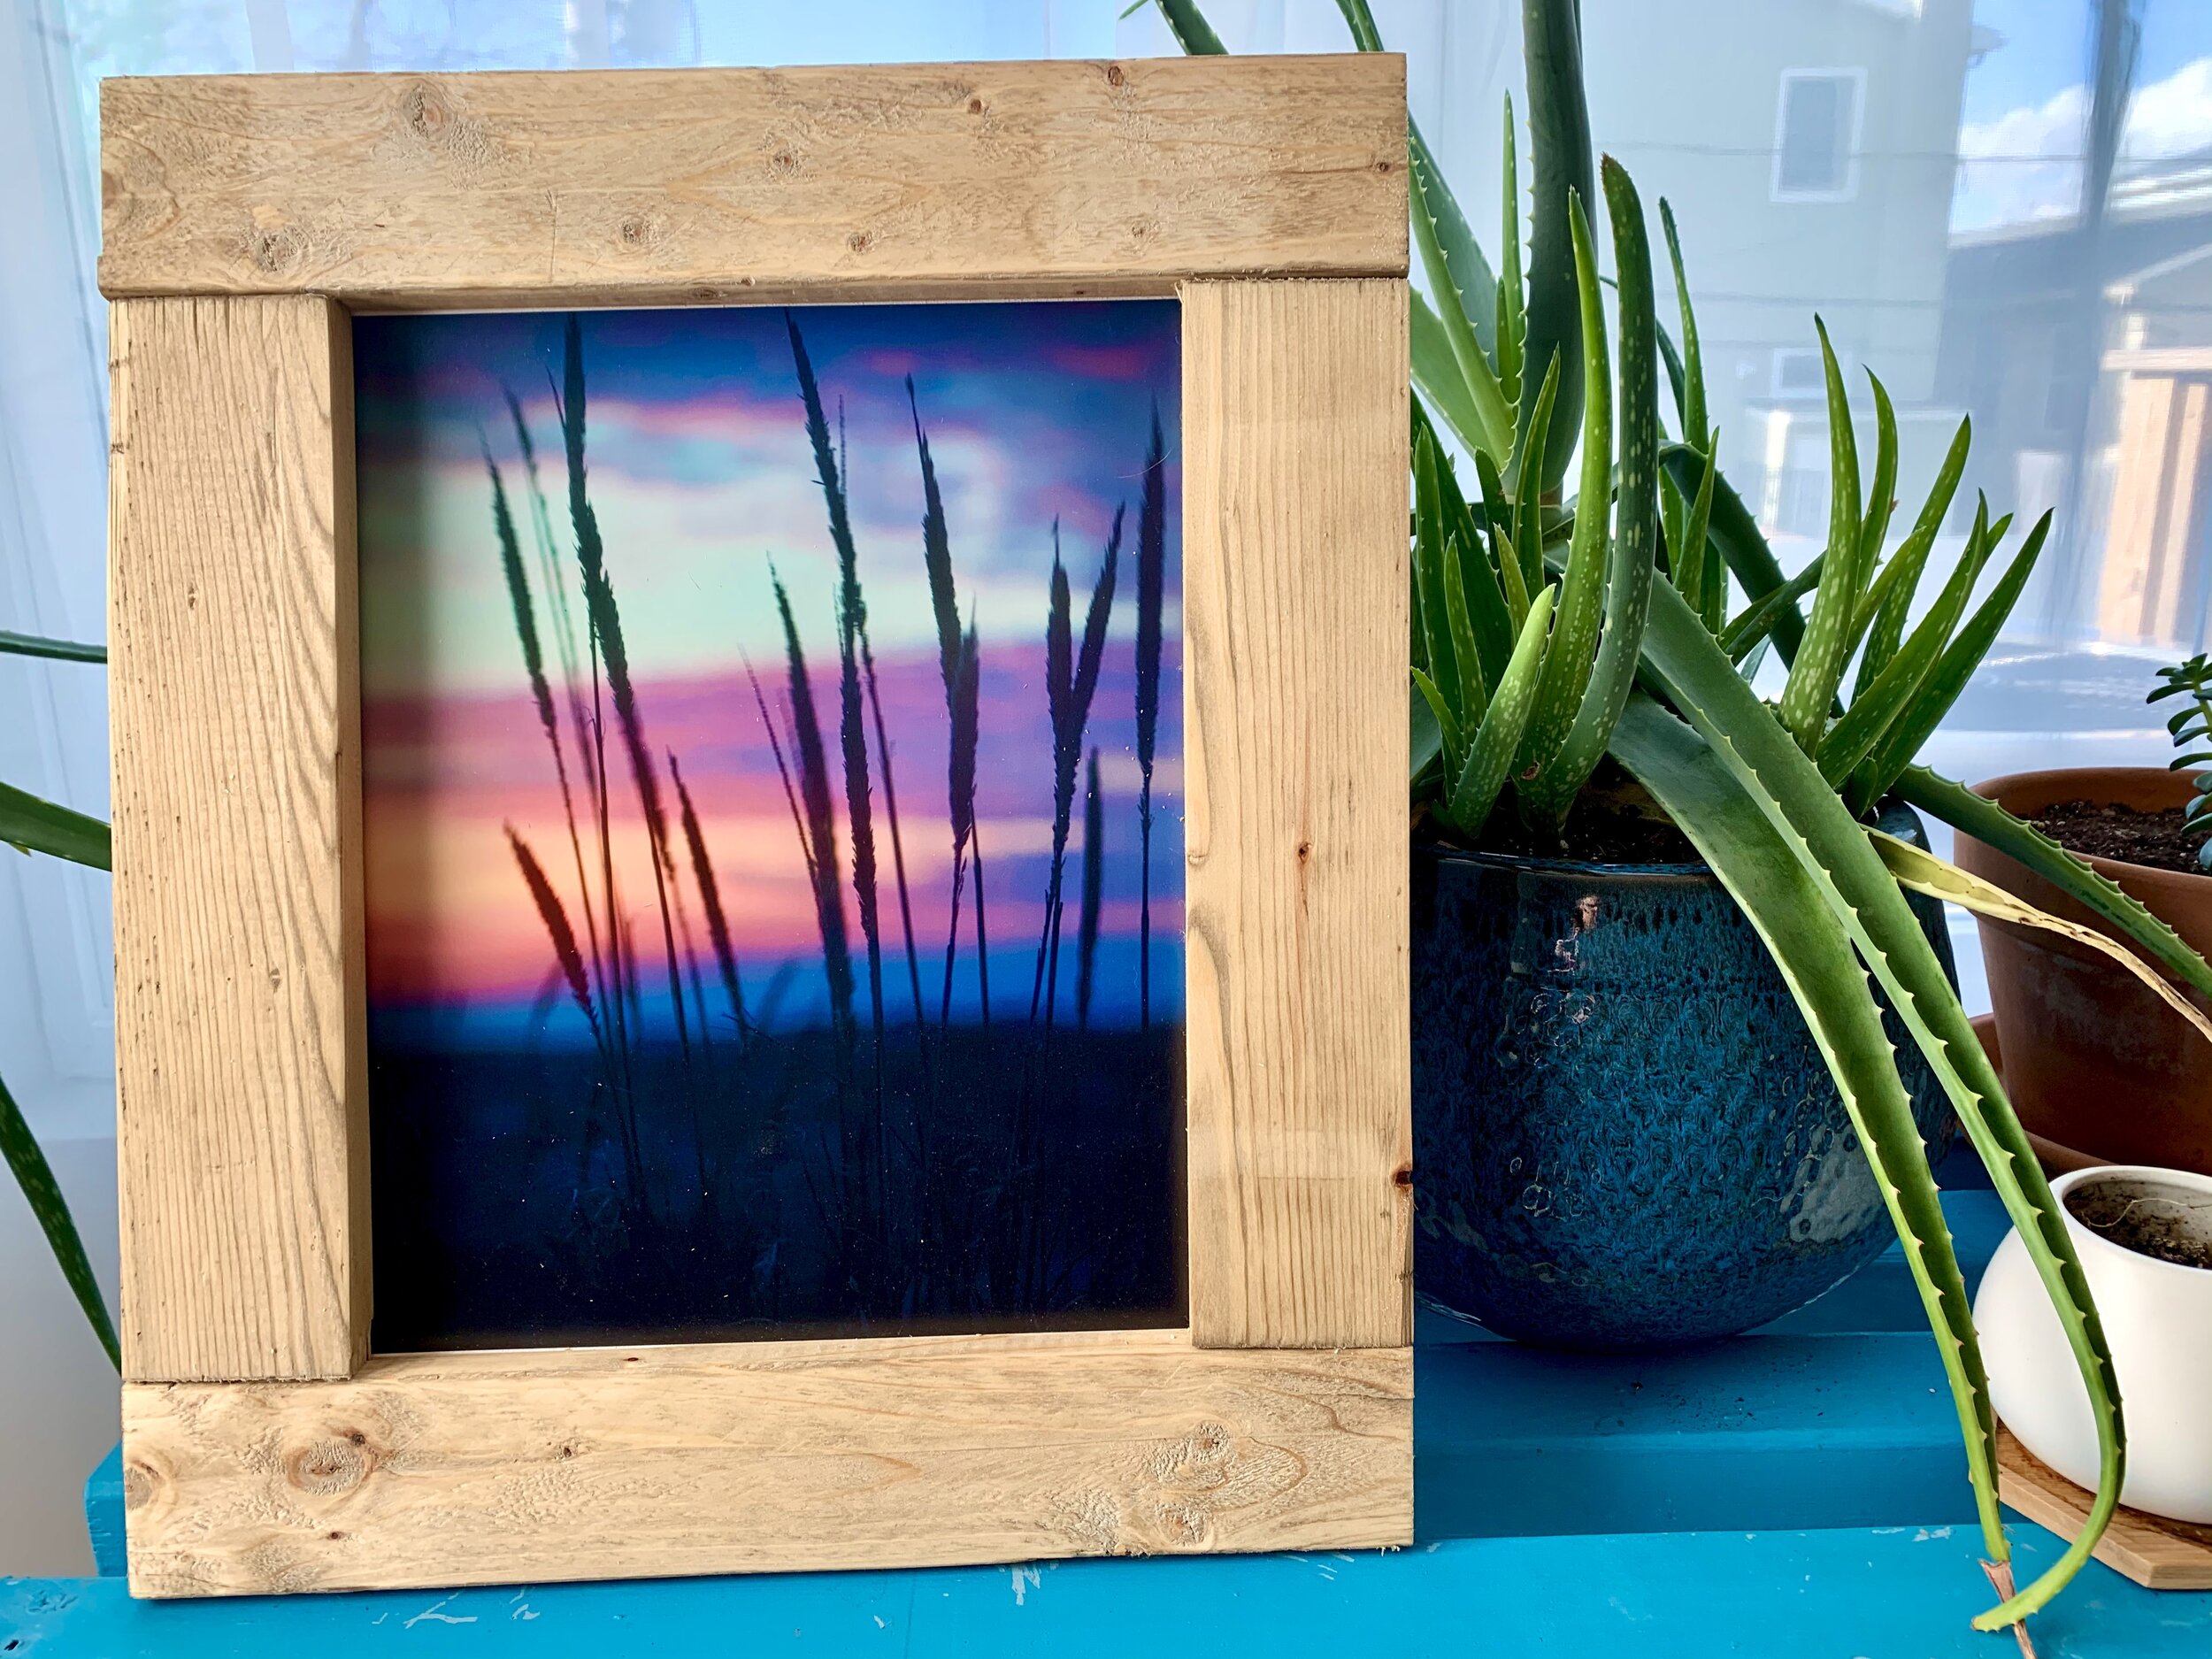
As an example, I’m going to use this frame I recently completed of a 12x12 print of a photo I took at Jones Beach State Park.
Supplies You Will Need
5 foot plank of 1x3 pine (Buy)
Electric Drill/Driver Set (I use the DeWalt 20-Volt Drill/Drive)
Screw Bit Set (Here is the one I own)
Kreg Pocket Jig Set - 2 holes (I use this set)
Sheet Sander (I use an older model of this)
Sandpaper (medium grade)
Tape Measurer
Pencil x Paper
Mitre Saw (I use an older model of this)
Wood Clamps (x2)
Stain of Choice (I recommend Minwax)
Dusting Clothes
Foam Brushes (at least two) - (Such as this)
Latex gloves (buy a big box, you’ll go through them quick)
Backing Board for Print (I use these)
Boxcutter + Razors
Right Angle Tool
Wood Glue
1 inch wood screws (x8)
Photo Mount Spray Adhesive (I use Scotch)
Rubber Rolling Tool (I use this)
½ inch wood screws (x8)
Large Sawtooth Hanger
Hammer
Print
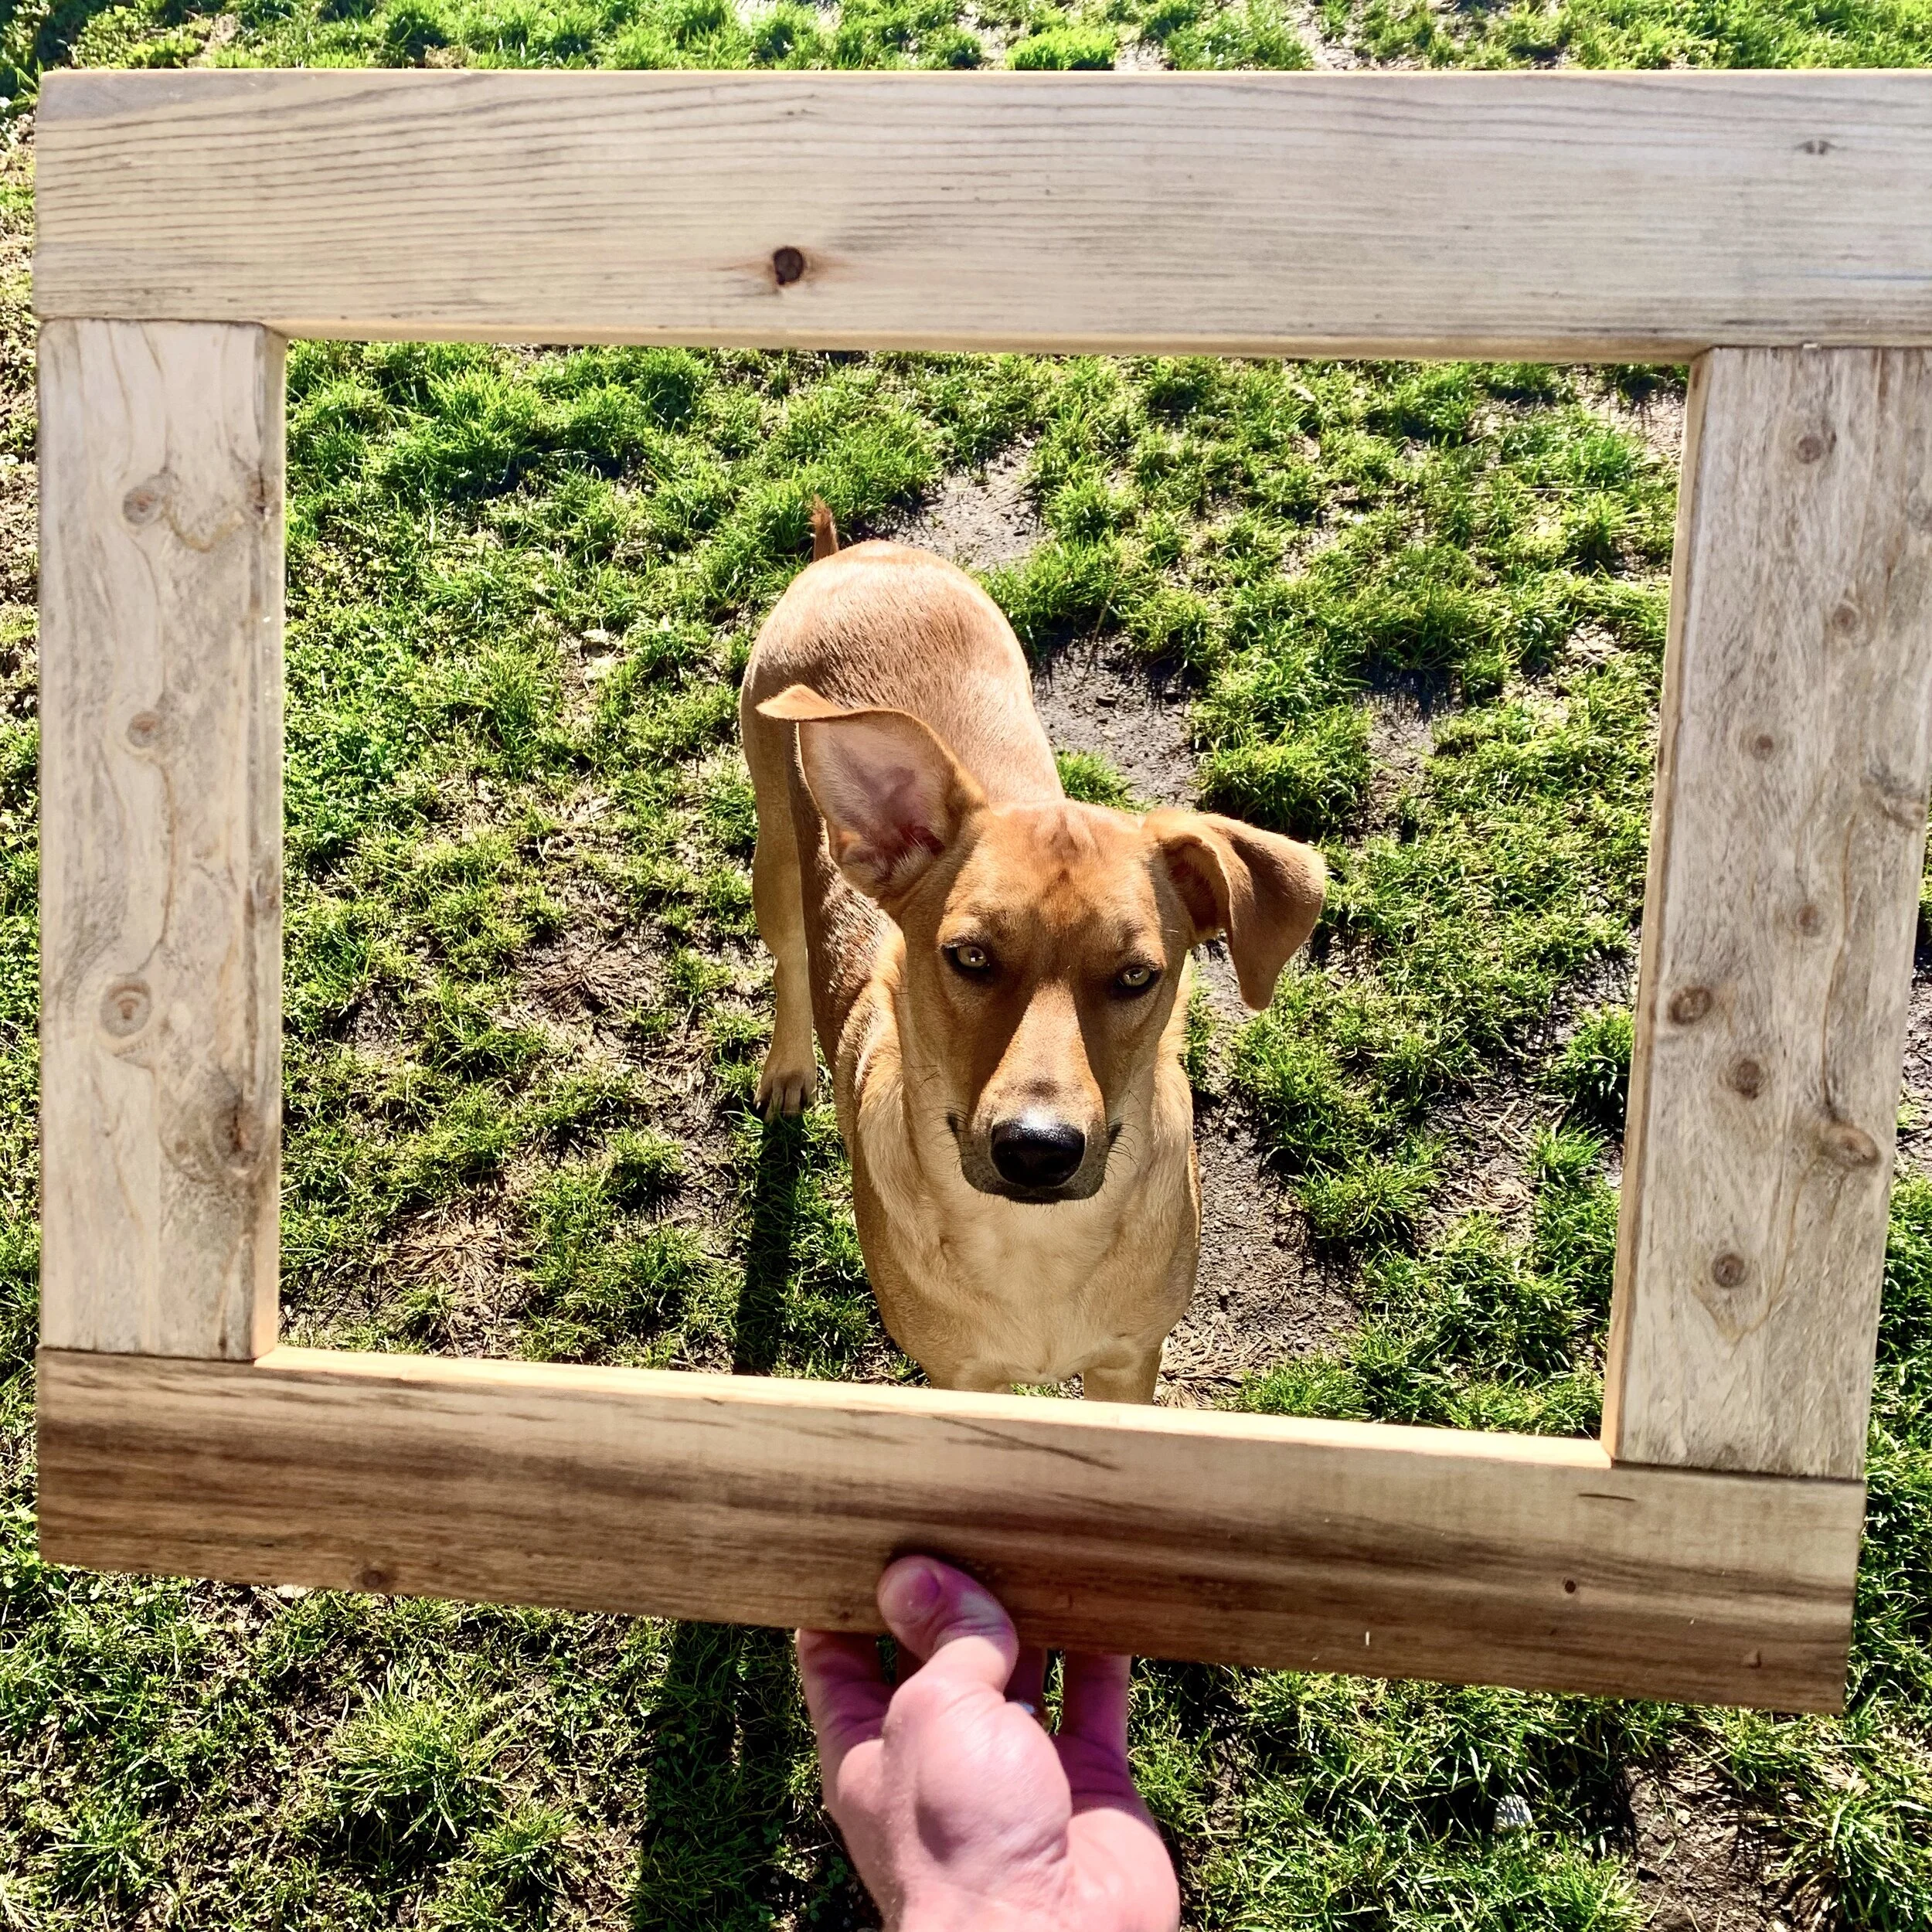
11x17 frame - My pup is not included!
The Process: Step-by-Step
Step 1: Get Your Measurements!
Items Needed: Tape Measurer, Pencil, Paper, Print, Wood
This is one of the most important steps. If your calculations are off by even a little bit, your frame won’t fit well and, what’s worse, you probably won’t know until you’ve gone through all of the other steps before you realize it. As the old adage goes, measure twice, cut once.
Measure your print to make sure of the dimensions.
Calculate your wood pieces. The side (vertical) parts will be the same height as the print itself. The top and bottom (horizontal) parts will have to accommodate the width of the side pieces as well. In this case, you will need two 12 inch pieces for the sides, and two 14.5 inch pieces for horizontal pieces.
Mark your line for the first wood cut using a pencil.
Step 2: Make Your Cuts
Items Needed: Pencil, Wood, Tape Measure, Mitre Saw
In the immortal words of Sheryl Crow…”the first cut is the deepest”. Before you even mark any of your other cuts, make that first one. Always be very careful with the mitre saw!
Use the mitre saw to make the cut you’ve already mapped out. Really eye the cut to make sure you’re coming down on the line, especially if you don’t have the laser guide on your saw.
Before making your next measurement/cut, re-measure the piece you just made to ensure it’s accurate.
Now you can follow the same steps to get the rest of your pieces (MMCM = measure, measure, cut, measure).
Step 3: Sand Your Pieces
Items Needed: Sheet Sander, Sandpaper, Your Wood Cuts, Dusting Cloth
Sanding is probably the most straightforward part of this whole process and, thankfully, doesn’t require math or measurements! That being said, aim to make sure the wood is smooth to the touch as you’re going. Try to eliminate any splinters as those will eventually probably peel off, leaving wood that isn’t stained exposed. It also just doesn’t look as good if your wood is splintered. It’s important to not neglect the sides and edges. Just be careful when sanding the edges to make sure you aren’t going ‘too hard’ at it as you can actually take enough off of the wood that it changes the length slightly and ruins the right angle in the corners when you assemble your frame.
Sand each piece to a smooth touch.
Use the dusting cloth to remove any saw dust.
Step 4: The Jig is Up!
Items Needed: Wood Cuts, Clamps, Pocket Jig, Drill, Tape Measurer
Now it’s time to make your jig holes on the vertical wood pieces. These will be the two grooves at the top and two at the bottom that you will use to eventually screw the frame together. The jig I linked to above has the two hole sets in it so you can do both holes per side at the same time which makes it easier.
Measure the thickness of your wood. This will determine the jig settings and what screw you will eventually use.
Reference the guide in the jig manual to find out your settings.
Set your jig length accordingly (for me on this frame it was 5/8th of an inch).
Secure the jig collar on the drill bit included in your kit. It will match the settings for the jig.
Place the wood on the edge of the table, and secure the pocket jig to the top of the piece of wood you’re working on. Make sure that the side you’re jigging is what you want to be the back of your frame.
Use your first clamp to secure the pocket jig to the wood. Use a second clamp to hold the wood down to the table.
Using the drill bit included in your jig kit (make sure the collar is on!), drill your first two holes. Make sure to reverse the drill bit out so that you’re not stripping the grooves you’ve created.
Undo the clamps, and turn the wood around so you’re still working on the same back of the frame you just jigged.
Re-clamp the wood so that you’re making two new grooves that mirror the ones you made on the other side.
Do these same steps for the second vertical piece.
Step 5: Stain, Stain, Stain
Items Needed: Stain, Foam Brush, Latex Gloves, Dusting Cloth, Wood Cuts, Prop Wood, Screwdriver or back of hammer
Staining is my favorite part of this whole process. Make sure you choose your color carefully and don’t forget the sides and edges. I used a custom-blend that my wife and I concocted of 70% Minwax classic grey and 30% Minwax special walnut on this frame. We actually used the same color on the floors in our house.
Make sure to shake your stain can before you open it to mix it well.
Use the back of a hammer or a screwdriver to open the can.
If you are blending, pour your blends in the ratio you want them into a plastic container that you can put a cap on after. That way if you don’t use it all you can keep it fresh and use it on another project. I like to use the containers you get when you order soup takeout from a Chinese restaurant.
Mix the stain again with your screwdriver or a paint stirrer.
Set up two pieces of wood a little less than the length of your smallest wood cut (in this example the 12 inch pieces). Place your pieces so that a bit of the end of the wood is on this prop wood. That way the pieces that you are staining are elevated from the table you’re working on.
Use the foam brush to stain the entirety of each wood piece.
Wipe the excess stain from the wood with a dusting cloth.
Let the pieces dry before the next step. I usually give them 24 hours.
If you want the pieces a little darker, it’s okay to add a second coat once they’ve dried. I wouldn’t do more than two coats, as the color really won’t change much on subsequent coats.

Step 6: Cut Your Print Backing
Items Needed: Box Cutter, Tape Measurer, Pencil, Something straight to draw your line against, backing board for the print.
This is the step where you make the backing for your print nice and sturdy. This will help prevent damage to the print by making it a bit more durable. Cut the backing board an inch bigger than the print on each side, so that you can screw that into the frame without having to lose any of the print to behind the frame. In this case that means you’re making your backing board 13 x 13.
I try to use the corner of the backing board for each of these cuts to ensure two of the edges are already perfect straight. Measure your desired width from one side of the board (13 inches here) and mark it.
From where you just marked your width, measure and mark for your height straight above that, which in this case will be another 13 inches.
Re-measure to ensure accuracy.
Using a straight line (I have a thin piece of wood I use), Connect the mark you just made where the width and height meet down to the edges of the board with a pencil. You should now have an outline of your backing.
Re-Measure again at a couple of spots on the backing board to make sure you’re accurate.
Using the boxcutter, cut out your new backing board.
Step 7: Frame Pieces...Assemble!
Items Needed: Wood Pieces, Drill, Clamps, 1-inch (or corresponding size) wood screws, Drill, Wood Glue, Right Angle
Full disclosure, steps 7 and 8 can be done in either order and I switch it up sometimes, you know, to keep it interesting. Also, pro tip, my mother in law made me a little tool to help ensure I keep right angles when assembling. She basically took two small wood blocks and drilled them into a flat piece of wood at a right angle. Now I use that corner where the wood blocks meet to keep my corners secure and clean!
First thing’s first. Each piece of wood will have its own character, and you will want to map out where you want each piece based on the patterning and knots. Play around a bit before you screw anything in to find the look you want.
Use the right angle tool to ensure you have four right angles in the corners of your frame.
Once you’re happy with the look, flip over and reverse the pieces so you’re now looking at the back of the frame in a way that, if your table were clear, you would be looking at the frame how you want to see it perfectly from underneath the table.
Now start with one vertical and horizontal piece to connect first. Add a thin line of wood glue to the top of the vertical piece where you are about to connect it to the horizontal piece.
Holding the pieces together tightly, clamp them in place with the backs facing up.
Continue to hold them tightly as you drill your two screws into the grooves that you created with the pocket jig. Don’t go to tight yet as you want a little leeway while you connect the other pieces.
Repeat these last three steps to add the other vertical piece to the horizontal piece you were already working on.
Now, add wood glue to both of the exposed ends of the vertical pieces. Then repeat the steps to connect the other horizontal piece to the rest of the frame.
Tighten all of the screws, but be careful not to go too tight or the wood could crack down the line.
Step 8: Adhering Your Print to Backing Board
Items Needed: Print, Backing Board, Rubber Rolling Tool, Latex Glove (1), Photo Adhesive
This is the part of the process that I find most nerve wracking. It’s so easy to screw up (no pun intended). It’s also late in the process, and if something does go wrong, you are delayed while you get another print made. So be careful here, and if you need a helping hand, don’t hesitate to ask someone to double team this part with you.
Lay down the backing board on a towel so that adhesive doesn’t get on your table.
Shake your adhesive can vigorously before applying.
From about 12 inches away, cover the whole front of the backing board with adhesive. It’s best to do two coats to be safe.
Now, starting at one side of the print, very carefully begin laying the print on your backing board. As you go, use the rubber rolling tool to ensure there are no bubbles or anything in the print. I can’t stress this enough to be very careful at this point to make sure your print is straight and centered on the backing board and that there are no bubbles.
Step 9: Secure The Print to the Frame
Items Needed: Frame, Print, Drill, ½ inch wood screws.
Alright, we’re in the home stretch! These last two steps are relatively easy if you’ve done the rest of the process correctly, but let’s still be careful and do them right.
Find the perfect placement of the print in the frame. The print and backing board should be connected from behind the frame. Once you’re happy with placement, place the frame facedown on your table. The photo adhesive on the borders of the print backing should help hold it ever so slightly to the frame.
Screw your ½ inch wood screws into the four corners of the print backing to connect them to the frame. Make sure you’re going cleanly into the frame and not through your print itself where it will be visible. It’s good practice to not go all the way in with each screw until you’ve got them all in.
Screw the other four ½ inch screws midway between the corner screws, still on the edges of the backing board, helping to strengthen the connection between the board and the frame.
Steph 10: Add Your Sawtooth Hanger
Items Needed: Frame, Sawtooth Hanger, Hammer
It’s time for the grand finale! The final piece of the puzzle that will allow your frame and print to be hung proudly on the wall of whoever the recipient is.
On the top horizontal piece of the frame, measure to find the midpoint both lengthwise and widthwise. Mark that spot with a pencil, as that is where the middle of the sawtooth hanger should go.
Now place your sawtooth hanger accordingly and hammer the two tiny nails that will come with them in. Make sure that your hanger is level so that the frame will hang level.
And that’s it! You’ve built a frame, congratulations! I hope you found it as fulfilling as I do.
You can purchase a frame/print or just a frame from ntvli.com and, if you’re interested in checking out some more of my woodworking projects, you can do so on my Flickr page.


Ask any wildlife photographer or explore based on Long Island and they’ll tell you that our home turf does not get nearly the credit it deserves when it comes to species diversity. In fact, I think it’s safe to say that most people think Long Island has a couple of raccoons, a possum here and there, and way too many deer out east and that basically sums it up.
This couldn’t be further from the truth. So for this article, we worked with some of the best wildlife photographers based on Long Island to highlight 10 species that most people might not know we have here.